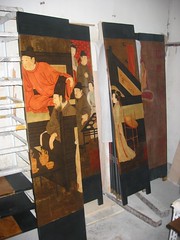
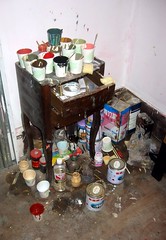
Today, we give you a detailed glimpse into the workshop of an artist craftsmen and let you see the many steps required to create a perfect lacquer painting.
Note: The large versions of these photos are online: http://www.flickr.com/photos/acf-china/2243528705/
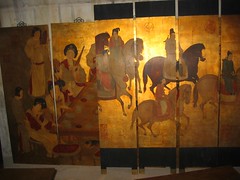
The art of lacquer painting is a ancient one, originating in China thousands of years ago. In the Neolithic age (about 7,000 years ago), while cutting down trees, the precursors to Chinese people realized that the sap of the lacquer trees could be applied to walls, furniture and other objects, thus giving birth to primitive lacquer art. Painting with lacquer is a meticulous and time-consuming process which most people fail to realize or appreciate. It is a very meticulous labor of love to create a lacquer painting and the process can take at least several weeks or in the case of a series of panels, more then several months to complete. Lacquer paintings & screen panels are traditionally created in three styles which correlate to the color of the paintings background:
- Gold leaf
- Deep black
- Vermilion.
There are other exceptions such as silver background but these are less uncommon.
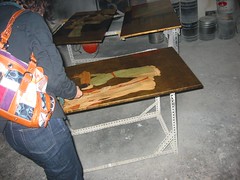
Step one: Preparing the surface.
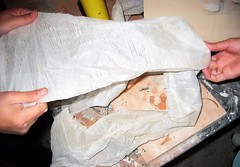
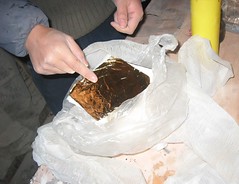
- Like an artist preparing a canvas, the process is very similar only in this case the painting is done on wood. Normally solid wood is NOT the best choice for these and most vendors will use “plywood” which is less likely to expand or contract (any cracks would ruin the painting). First, a piece of wood is prepared by sanding.
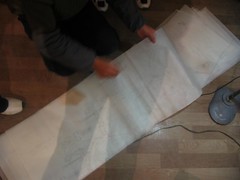
- The board is covered with a piece of fine white muslin cloth which is glue down on the board. This fabric serves a duel purpose in that should the wood crack or expand the cloth wrapped around it will remain relatively stable (and thus the fragile lacquer will not crack or become damaged).
- Then the cloth is brushed a layer of “nizi” - a kind of Gesso or base adhesive and is then left for the adhesive to air dry for a short period of time.
- This covering of adhesive is then sanded smooth to eliminate any bumps or ridges.
- This entire process is then repeated so that there is at least several coats of sanded “nizi.
Step two: Preparing the black base surface.
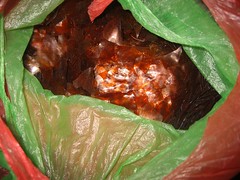
- next step brushed a coat of a specially prepared binding agent made from red lacquer flakes which are dissolved in thinner. This binding agent helps the next coat of black lacquer to soak into the cloth below.
- After a thin coat its left to air dry for a short period of time.
- Then brushed on top with a coat of black lacquer at least two times and left to dry completely - normally about three days depending on the weather and humidity.
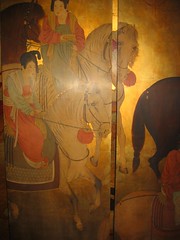
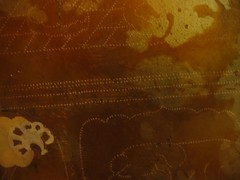
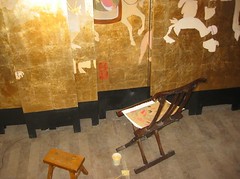
Step three: Laying down the gold leaf.
- Extremely thin square sheets of gold-leaf tissue (or im some cases silver) placed over-top of the black lacquer and affixed with glue. Generally the final painting will occur over TOP of the gold leaf. This is what creates the vivid yet subtle color effect you can see on the end painting.
- If desired, these thin sheets of gold leaf can be wrinkled slightly when they are applied which achieves an aged effect small bits of the black underneath will then show through when it is sanded one last time with a sheet of extra fine sandpaper.
- This is again left to air dry for a short period of time.
Step 4: Tracing out the design.
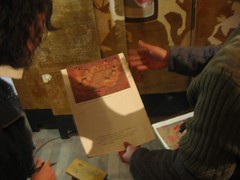
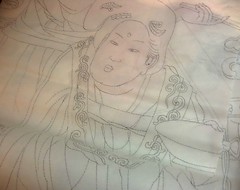
- First, a traditional design is selected often from a painting or book.
- Then a sheet of white tracing paper with a pattern with small holes (basically these are the tracing lines) in the paper is tacked/taped onto the panel.
- A special fine talcum like powder is evenly sprinkled over the tracing paper which then sifts through the holes in the tracing paper onto the surface underneath.
- When the tracing paper, is then removed the patterns remain on the panel seen as a series of fine dotted outlines.
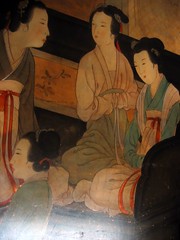
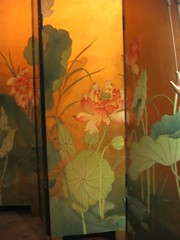
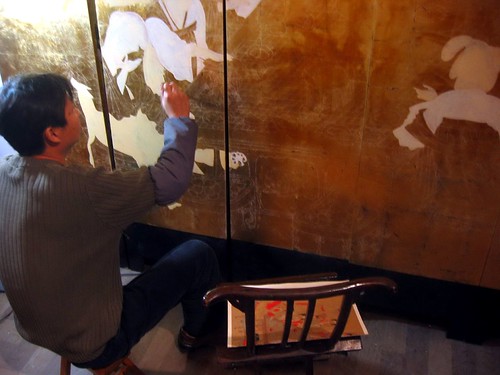
Step 5: The painting
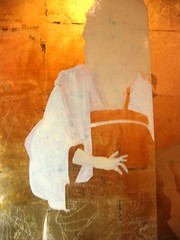

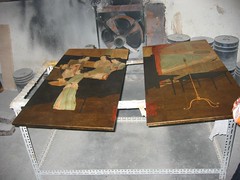
- Now we start painting. The painter uses white lacquer to rough out the outlines of the forms in the painting.
- The colors are applied one by one, layer upon layer until the tones are built up.
- After the painting has dried, the artist will brush over it with a clear coat of lacquer . This process leaves a brilliant surface on a painting and also adds additional protection.
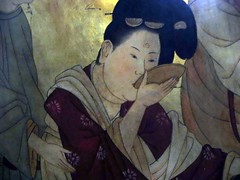
Finished! The end result is a beautiful work of art!